You’ve just unboxed a new shipment of CNC machined aluminum parts, but your heart sinks. The color of the anodizing is noticeably different from the last batch. Some parts are a shade too light, others too dark, and they certainly don’t match the golden sample you approved weeks ago.
This isn’t just a minor cosmetic issue. This inconsistency can halt your assembly line, lead to product rejections from your own clients, and damage your brand’s reputation for quality. The endless cycle of communication, rework, and shipping delays costs you time and money, creating immense frustration and undermining your trust in your manufacturing partners. You start to wonder if achieving perfect color consistency is even possible.
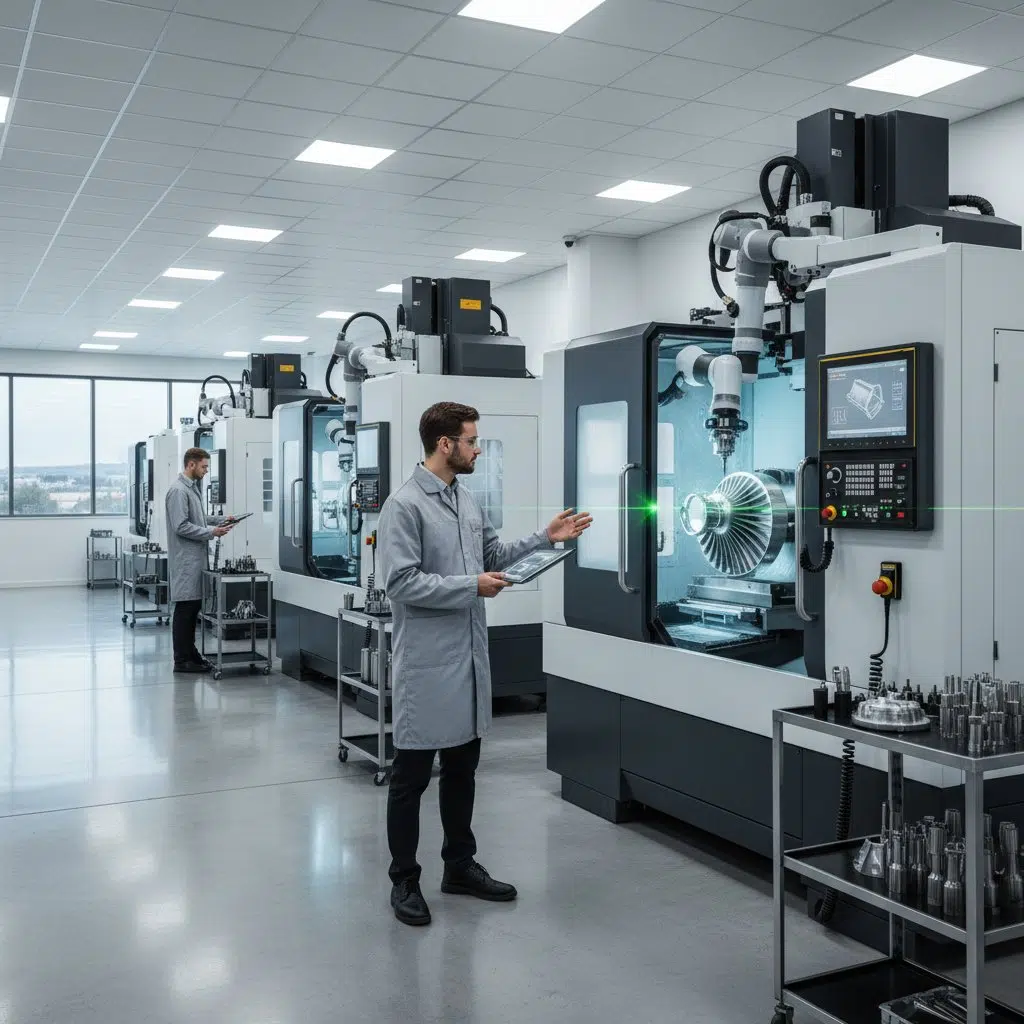
I’m here to tell you that it is absolutely possible. Achieving flawless, repeatable color on your anodized aluminum parts isn’t a matter of luck; it’s the result of a rigorous, controlled, and transparent process. As a specialist in CNC machining, I can show you exactly how a top-tier CNC machining factory eliminates these inconsistencies. It all comes down to mastering the key variables, from the raw aluminum block to the final sealing of the anodized surface.
To ensure anodizing color consistency on CNC machined aluminum parts, you must strictly control three core areas. First, use the exact same aluminum alloy and temper for every batch (e.g., 6061-T6). Second, maintain a consistent surface finish during the CNC milling and pre-treatment process. Finally, the anodizing process itself must be precisely regulated, with identical parameters for tank chemistry, temperature, current density, dye concentration, and immersion time for every single part, every single time.
Now that you understand the fundamental principles, you might be asking how exactly we implement this control. After all, knowing the “what” is one thing, but mastering the “how” is what separates an average supplier from a true manufacturing partner. Therefore, let’s move beyond the theory and dive into the practical, step-by-step solutions we use to prevent color variation. To begin with, we will explore the most critical, yet often overlooked, factor: the raw material itself. Furthermore, we will then connect this to the subsequent manufacturing stages. This detailed breakdown will give you the knowledge to not only demand better quality but also to understand the intricate process behind it.
Why Anodizing Color Varies: It’s More Than Just a Dye Bath
Before we can control the outcome, we must first understand the cause. The color in an anodized part isn’t just a layer of paint; it’s a structural change. The anodizing process creates a porous oxide layer on the surface of the aluminum part. This layer is then infused with dye, which becomes trapped within the pores.
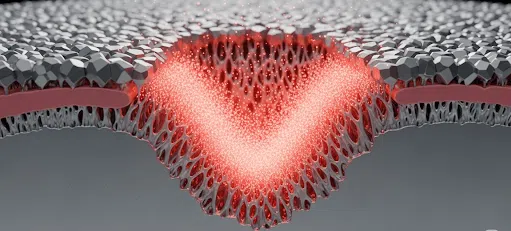
The final color is a result of light reflecting through the dyed, transparent oxide layer and off the base metal. Consequently, any variation in the thickness or porosity of this oxide layer, or any change in the texture of the underlying surface, will alter how light reflects and, therefore, change the perceived color. This is why a simple visual check is not enough; a scientific approach is essential for any professional CNC machining service.
Solution 1: Material Consistency is Non-Negotiable
The journey to consistent color begins long before the CNC machine is even turned on. The specific alloy and even the temper of the aluminum have a significant impact on the final anodized color.
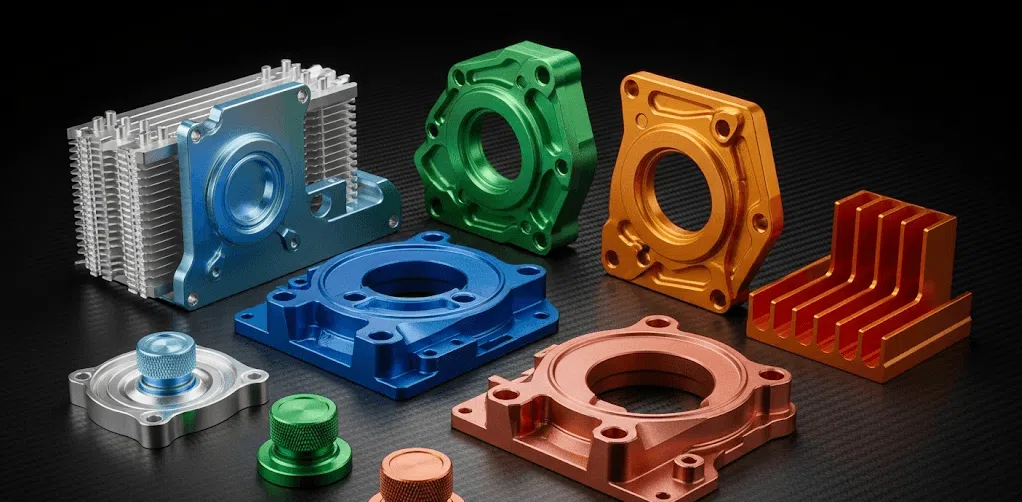
- Alloy Selection: Different aluminum alloys have different chemical compositions (e.g., varying levels of silicon, copper, or magnesium). These alloying elements react differently during the anodizing process, leading to distinct base colors and dye absorption rates. For instance, a 7075 alloy will have a different natural anodic tint than a 6061 alloy, even before dye is introduced. For a project requiring multiple batches, we insist on sourcing the material from the same mill and the same production lot to eliminate microscopic variations in composition.
- Temper Control: The temper (e.g., -T6 vs. -T4) also plays a role. The heat treatment process affects the grain structure of the metal, which in turn influences the uniformity of the oxide layer. Mismatched tempers will almost certainly lead to color mismatches.
Our rule is simple: one project, one material source. We document material certifications for every batch to ensure absolute traceability and consistency for all the aluminum parts we produce.
The Critical Role of CNC Machining and Surface Preparation
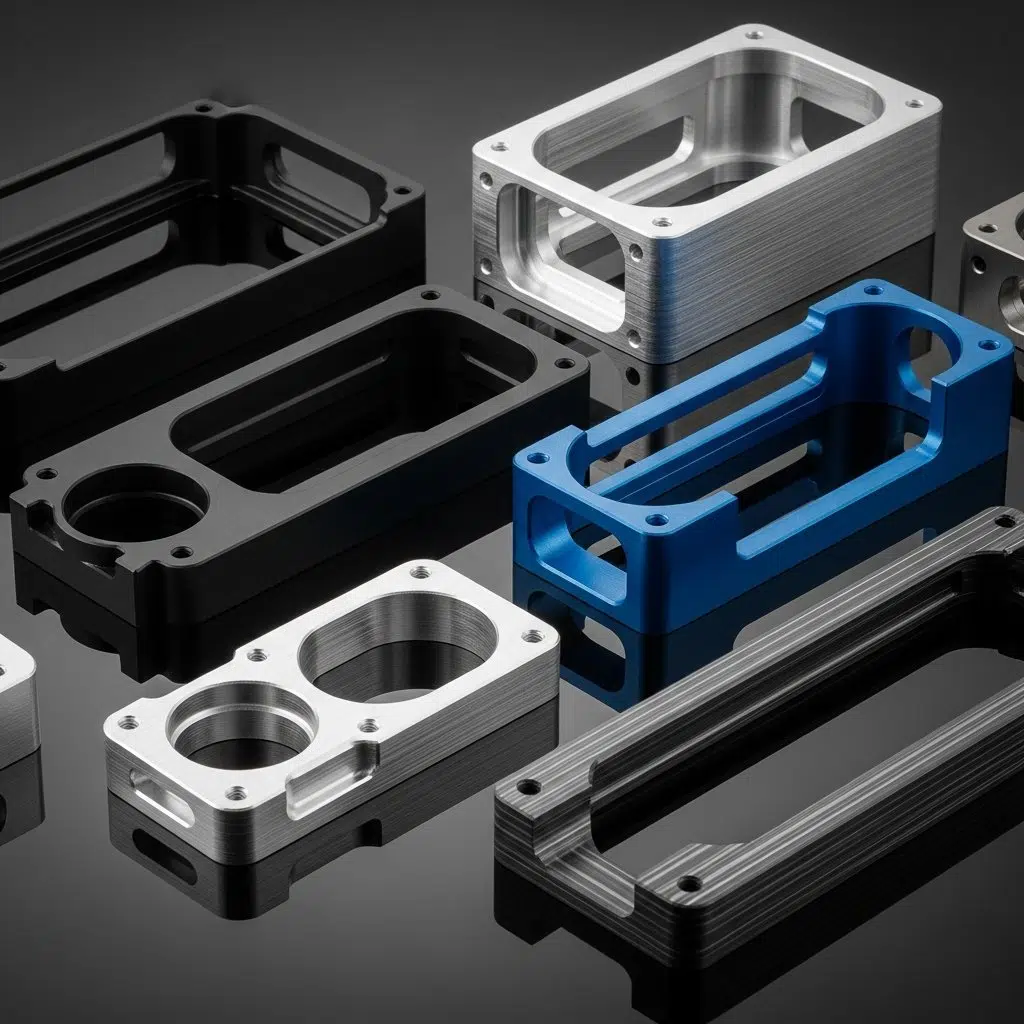
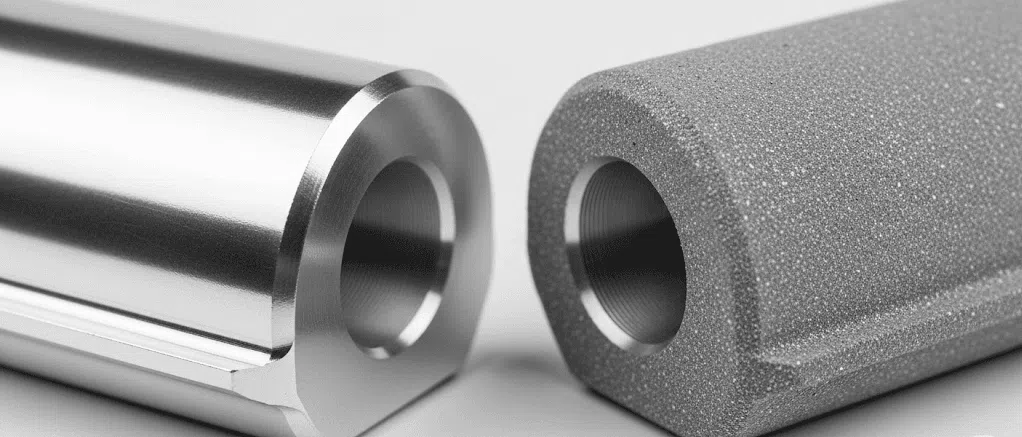
The surface of your part is the canvas for the anodizing. If the canvas isn’t consistent, the final masterpiece won’t be either. The surface finish created during CNC milling directly impacts the final appearance.
- Consistent Surface Roughness (Ra): A smoother, more polished surface will appear lighter and more reflective after anodizing, while a rougher, matte finish will look darker and more muted. We use the same cutting tools, feed rates, and cutting speeds across all parts in an order to ensure the Surface Roughness (Ra) is identical.
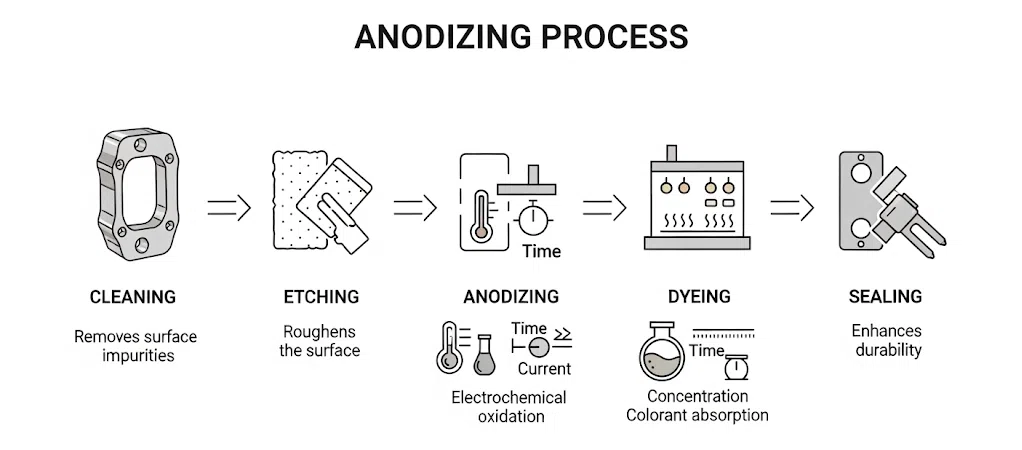
- Uniform Pre-Treatment: Before anodizing, every part goes through a series of chemical baths: cleaning, etching, and de-smutting. The etching step is particularly crucial as it removes a thin layer of skin from the part and creates a uniform matte texture. We precisely control the time, temperature, and chemical concentration in these baths. Even a few extra seconds in the etch tank can alter the surface texture enough to cause a visible color shift.
We treat CNC machining and surface preparation not as separate steps, but as the first phase of the coloring process itself.
Comparing Common Aluminum Alloys for Color Anodizing
This table can be inserted after “Solution 2” to illustrate the importance of material selection.
| Aluminum Alloy | CNC Machinability | Suitability for Bright/Clear Anodizing | Color Consistency | Common Applications for Anodizing |
| 6061-T6 | Excellent | Very Good | Excellent | The go-to alloy for decorative and protective anodizing. Produces consistent, high-quality finishes. |
| 5052-H32 | Good | Excellent | Excellent | Often preferred for sheet metal, it offers superior corrosion resistance and a very clear anodic coating. |
| 7075-T6 | Fair to Good | Poor to Fair | Moderate | A high-strength alloy. Its high zinc content can result in a yellowish/brownish tint and makes color matching more challenging. |
| 2024-T3 | Fair | Poor | Poor | A high-strength, copper-rich alloy. Not recommended for decorative anodizing as it produces a cloudy, inconsistent finish. |
Mastering the Anodizing Process Parameters
This is the most sensitive stage, where a small deviation can have a big impact. A reputable CNC machining factory doesn’t just “dip and ship”; we manage the anodizing process with scientific precision.
- Anodizing Tank Control: The thickness of the oxide layer is determined by the current density and the time the part spends in the sulfuric acid bath. We use computer-controlled rectifiers to maintain a constant current and precise timers to ensure every part receives the exact same treatment. The bath temperature is also regulated to within ±1°C, as temperature fluctuations affect the rate of oxide growth and porosity.
- Dyeing Process Control:
- Concentration & pH: The dye bath must have a consistent concentration and pH level. We perform regular titrations and adjustments to keep the bath within tight specifications.
- Immersion Time: The longer a part is in the dye, the more saturated its color becomes. This is timed to the second.
- Agitation: The solution must be gently agitated to prevent localized concentration differences, ensuring dye is absorbed evenly across all surfaces of the aluminum part.
- Sealing: The final step is sealing the pores, usually in a hot deionized water or nickel acetate solution. Improper sealing can cause the color to “bleed” or fade over time. This process is also controlled for time and temperature.
To ensure consistency across different batches, we run a “golden sample” from the approved first article with every subsequent production run. This sample acts as our physical control standard, allowing us to make micro-adjustments to the process to match it perfectly.
Measuring Success: What is an Acceptable Color Difference?
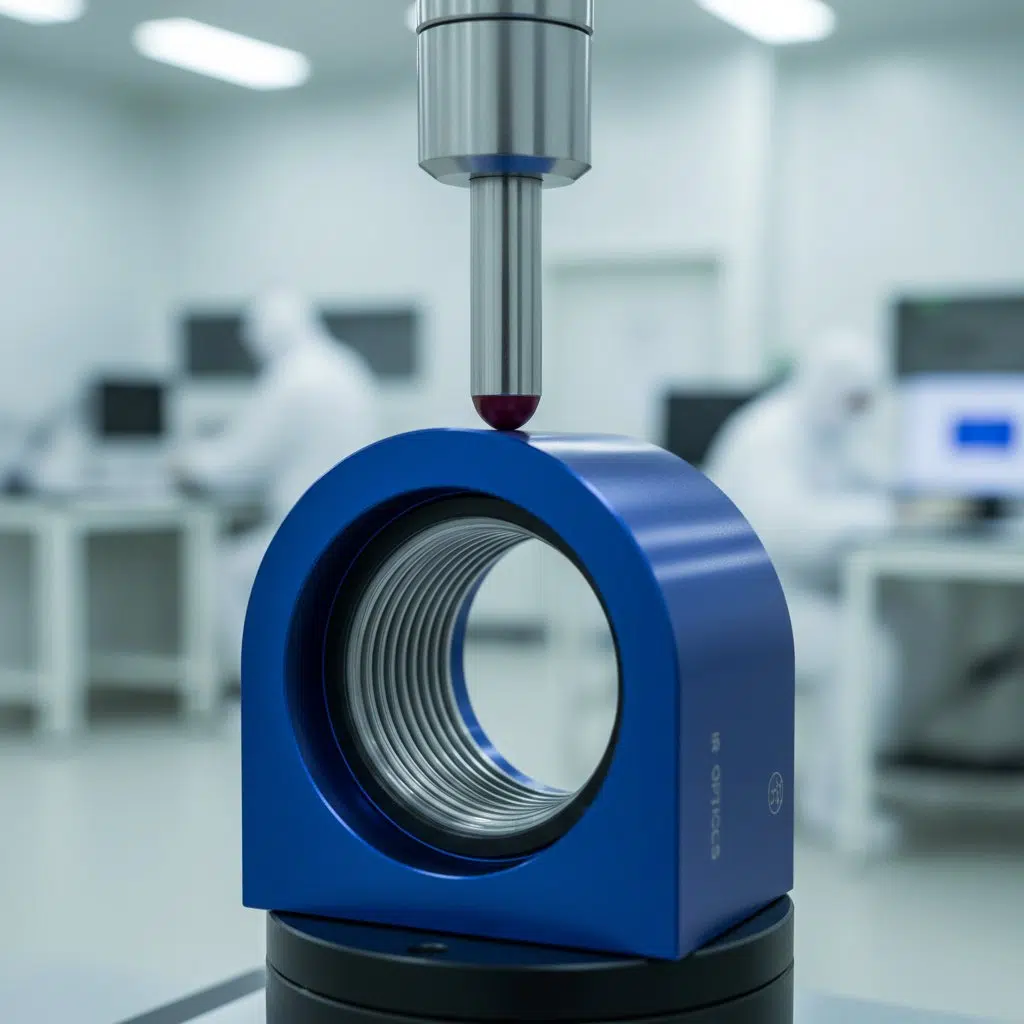
In manufacturing, “identical” is a goal, but “within tolerance” is the reality. So how do we objectively measure color difference? We use a device called a spectrophotometer to measure color numerically based on the CIELAB color space. This gives us a Delta E (dE) value, which represents the total color difference between two samples.
- dE < 1.0: Not perceptible by the human eye.
- dE 1.0 – 2.0: Very small difference, only perceptible to a trained eye.
- dE 2.0 – 3.5: A small but noticeable difference.
- dE > 3.5: A very clear and often unacceptable difference.
For the same batch of parts, we aim for a dE < 1.5. When comparing a new batch to a previous batch or the golden sample, a dE between 2.0 and 3.0 is often considered a commercially acceptable match for most high-quality applications. Anything above that indicates a process control issue. By agreeing on an acceptable dE value with our clients upfront, we replace subjective opinion with objective data.

FAQ Section
Q1: How do you truly guarantee anodizing color consistency for every batch of my aluminum parts?
A1: We guarantee it through a system of total process control. It starts with sourcing the exact same aluminum alloy from the same lot. Then, our CNC machining and CNC milling processes are standardized to produce an identical surface finish every time. Finally, our anodizing line is computer-controlled, with every critical parameter—temperature, time, current density, and dye concentration—logged and precisely repeated. We use a spectrophotometer to provide objective color data (Delta E) proving that each batch matches the approved standard.
Q2: What is a normal or acceptable color difference for anodized parts within the same batch?
A2: Within a single, well-controlled batch, the color difference should be nearly imperceptible. We target a color tolerance of Delta E (dE) < 1.5. This means that to the naked eye, all parts within that batch should look identical. Any variation greater than this suggests an issue with racking (how the parts are held) or inconsistent current flow within the anodizing tank.
Q3: Why is it so difficult for different production batches to have the exact same color? What causes the variation?
A3: Achieving a Delta E of zero between batches separated by weeks or months is nearly impossible due to microscopic variables. The primary reasons for variation between batches are:
- Material Micro-variation: Even aluminum from the same supplier can have minute compositional differences between production lots.
- Environmental Factors: Ambient temperature and humidity can slightly affect chemical bath temperatures and evaporation rates.
- Chemical Aging: Anodizing and dye baths age over time. While we constantly monitor and replenish them, their chemical makeup can drift slightly.
This is why relying on a trusted CNC machining factory that uses a “golden sample” and objective data measurement for every run is critical to minimize this drift and keep the color within an agreed-upon, commercially acceptable tolerance (typically dE < 3.0).