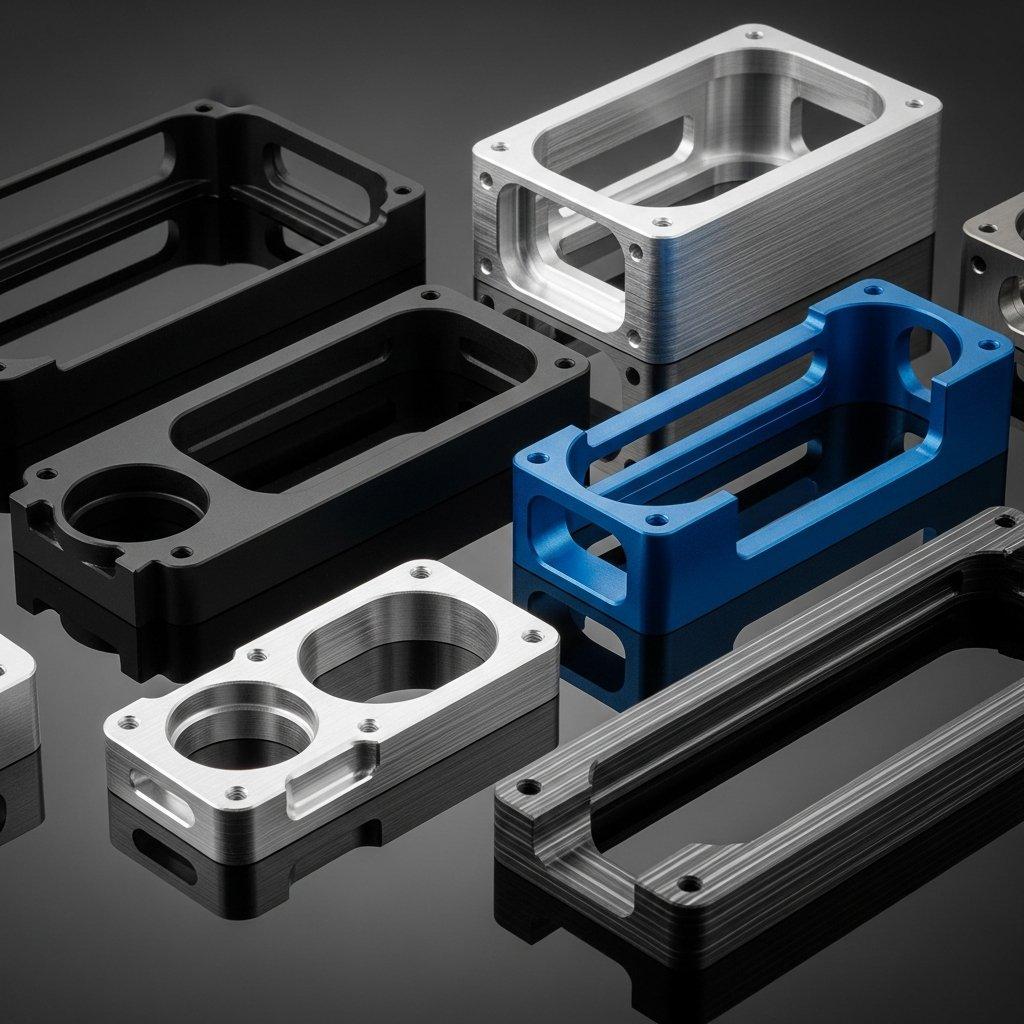
Controlling dimensions on anodized aluminum parts requires pre-compensation during machining, as the process adds thickness to all surfaces. The key is understanding the difference between anodizing types and applying the correct size allowance.
For standard Type II anodizing, the added thickness is minimal. However, for hard anodizing (Type III), the buildup is significant and must be precisely managed. The industry rule of thumb for hard anodizing is that the coating penetrates 50% into the material and grows 50% outward. This means the final dimensional change per surface is half the total coating thickness. For example, a 50µm (0.002″) hard coat will add 25µm (0.001″) to each surface.
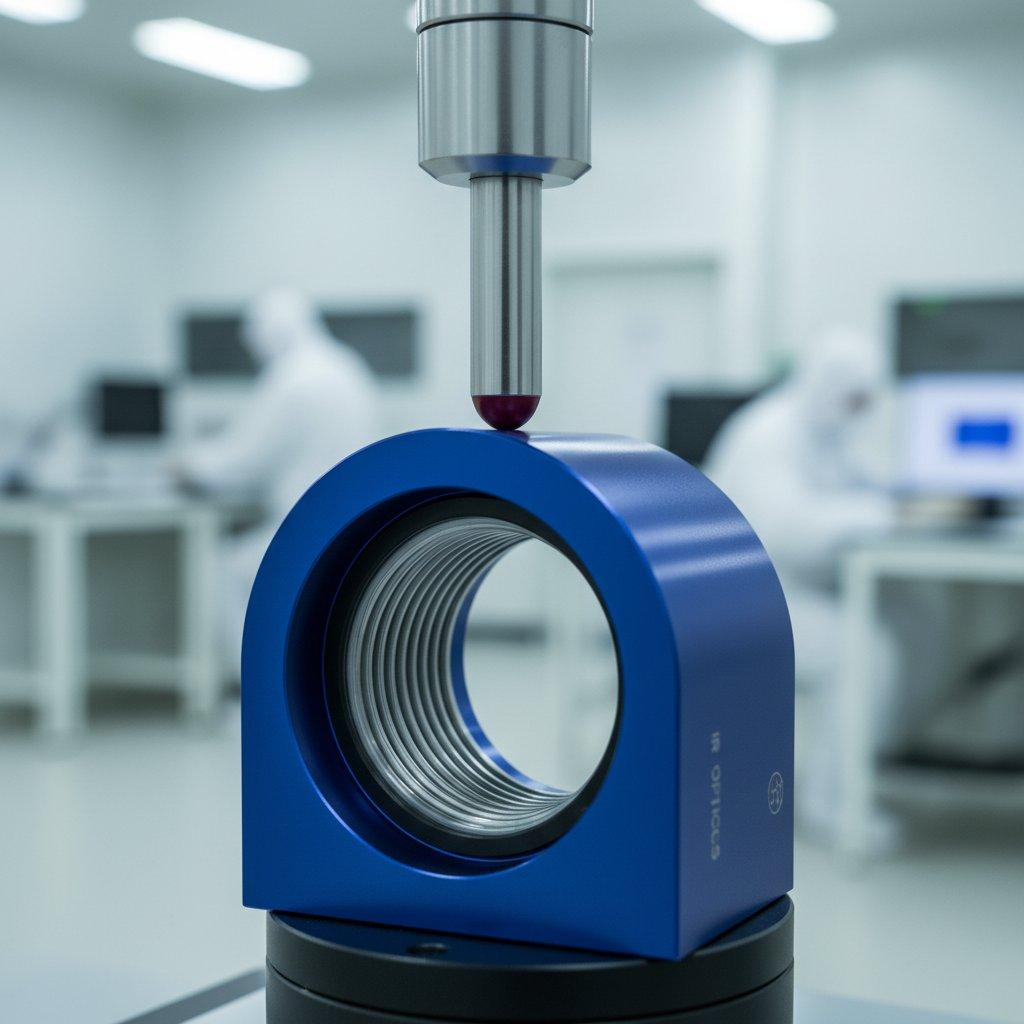
To manage this, machinists must adjust dimensions before the surface treatment. A hole must be machined oversized to compensate for the buildup, while a shaft must be machined undersized. Close communication with your anodizing vendor is crucial to confirm their specific process buildup and ensure your machining tolerance is met.
Pros and Cons of Applying Hard Anodizing:
- Pros: Creates an extremely hard, wear-resistant surface that often exceeds tool steel in hardness. It offers superior corrosion protection and electrical insulation, making it ideal for demanding applications.
- Cons: The significant thickness makes achieving tight machining tolerance difficult without precise pre-compensation. It can increase costs and lead times and may slightly increase surface roughness.
