CNC machining: 9 quality control processes
- Contract & Drawing Review
- IQC – Incoming Quality Control
- Process & Program Development
- FAI – First Article Inspection
- IPQC – In-Process Quality Control
- Tool maintenance
- Special process control
- FQC – Final Quality Control
- Packaging and Labeling
From Concept to Creation: A Blueprint for Manufacturing Success
In the competitive landscape of modern manufacturing, precision and foresight are the cornerstones of success. A brilliant design concept is only as viable as its execution, and the journey from a drawing to a finished product is fraught with potential pitfalls. Misinterpreted specifications, unforeseen manufacturing challenges, and misaligned tolerances can lead to costly delays, budget overruns, and compromised quality. To navigate these complexities, our comprehensive Contract & Drawing Review process serves as your project’s essential foundation, ensuring a seamless transition from initial design to flawless production.
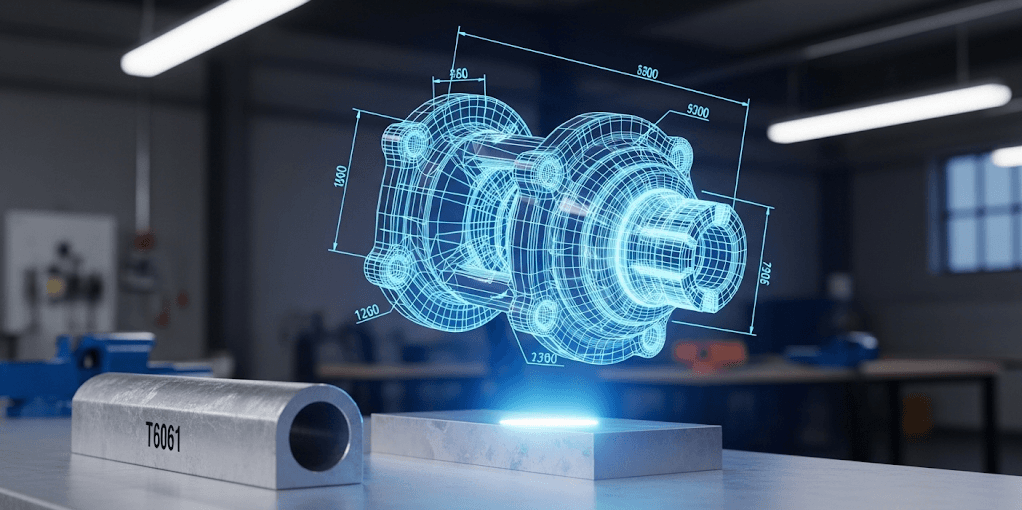
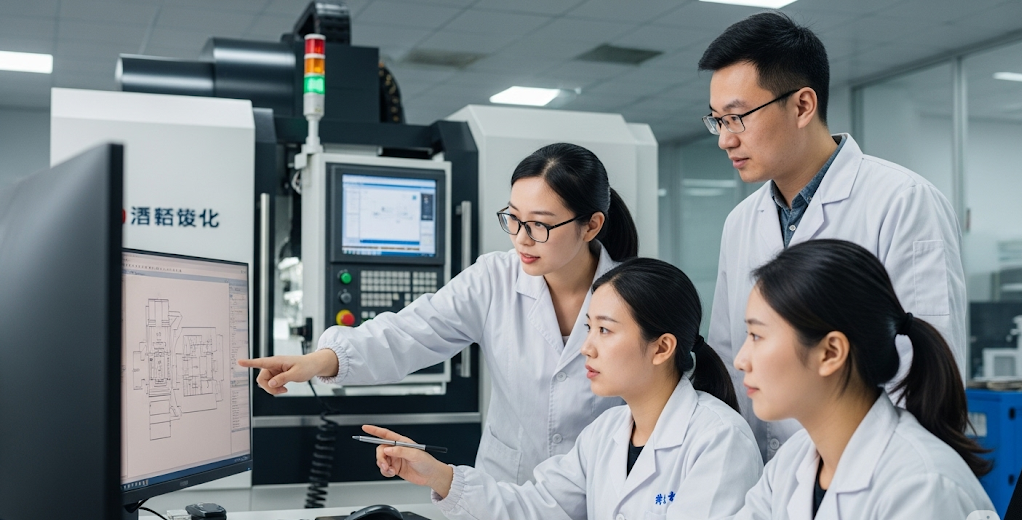
Before a single machine is programmed or a piece of material is cut, our dedicated team of engineers embarks on a meticulous and collaborative review of your project’s technical specifications. This deep dive goes far beyond a cursory glance. We immerse ourselves in your 2D and 3D drawings, dissecting every detail of the technical requirements, from the specified materials and surface finishes to the critical tolerances that will govern the final assembly. This rigorous upfront investment of time and expertise is designed to do one thing: eliminate ambiguity and prevent costly errors down the line.
A Proactive Approach to Precision Engineering
Our review process is built on three key pillars, each designed to de-risk your project and optimize its outcome:
Technical Feasibility Analysis: We begin by conducting a thorough technical feasibility analysis. Our experienced engineers will assess your design’s compatibility with established manufacturing processes. We identify any potential fabrication challenges, such as complex geometries or features that may be difficult to produce consistently. This proactive assessment ensures that your design is not only innovative but also practical to manufacture, saving you from the costly and time-consuming process of post-design modifications.

Comprehensive Tolerance Analysis: Tolerances are the invisible architects of a product’s functionality and fit. Our in-depth tolerance analysis scrutinizes the specified dimensional and geometric tolerances to ensure they are both achievable and appropriate for the intended application. We identify any potential conflicts or stacking issues that could hinder assembly or affect performance. By fine-tuning these critical parameters from the outset, we guarantee that every component will integrate seamlessly, just as you envisioned.
Actionable DFM (Design for Manufacturability) Suggestions: Our commitment to your project’s success extends to offering proactive Design for Manufacturability (DFM) suggestions. As we review your drawings, we leverage our extensive manufacturing expertise to identify opportunities for design optimization. These recommendations may include subtle modifications to enhance manufacturability, suggestions for more cost-effective materials or processes without compromising quality, or adjustments to streamline future assembly. Our DFM insights are designed to enhance your product’s quality, accelerate its time to market, and improve your bottom line.
By engaging in this intensive pre-production dialogue, we forge a partnership built on clarity, foresight, and a shared commitment to excellence. Our Contract & Drawing Review process is more than just a quality control measure; it is a strategic investment in the success of your project. It is the critical first step in transforming your vision into a tangible, high-quality product, on time and within budget. Let our expertise be your guide, turning potential challenges into opportunities for innovation and ensuring that from the very beginning, your project is engineered for success.
The Foundation of Quality: Uncompromising Incoming Material Inspection
In the pursuit of manufacturing excellence, there is a fundamental truth: superior components are born from superior materials. The integrity of every product we create, its performance, durability, and safety, is intrinsically linked to the quality of the raw materials we use. This is why our commitment to quality begins long before the first machine is powered on. It starts with a rigorous and uncompromising Incoming Quality Control (IQC) process, ensuring that only the finest, fully verified materials enter our production facility. As we firmly believe, “Great parts stem from great materials.”
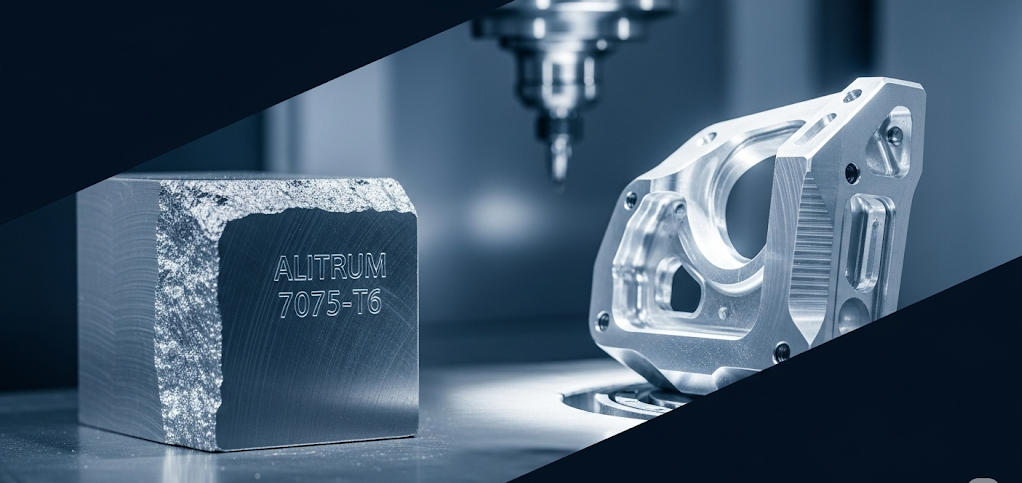
Our supply chain is built on a foundation of trust and proven performance. We partner exclusively with highly reputable suppliers who share our dedication to quality and consistency. However, we leave nothing to chance. Every single batch of raw material, whether it be a specialized alloy, a high-performance polymer, or a standard metal, is subjected to a stringent inspection protocol before it is accepted into our inventory. This meticulous process is our first line of defense against material defects and inconsistencies, guaranteeing the integrity of your product from the ground up.
A Multi-Faceted Approach to Material Verification
Our IQC protocol is a comprehensive, multi-step validation process designed to confirm the absolute conformity of all incoming materials to the required specifications. This includes:
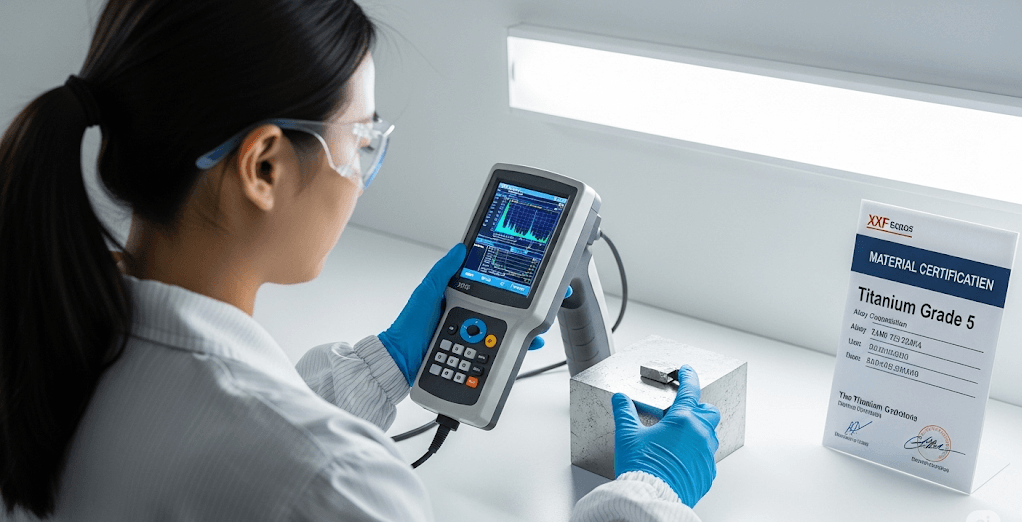
Comprehensive Material Certification and Documentation Review: The process begins with a thorough administrative check. We meticulously cross-reference the supplier’s material certificates with our purchase order specifications. This initial step verifies that the material grade, dimensions, and origin are precisely what was ordered, ensuring complete traceability and accountability from the source. A complete material certification accompanies every batch, providing a documented guarantee of its origins and properties.

Advanced Spectrometer Analysis for Chemical Composition: To guarantee the elemental integrity of our materials, we employ state-of-the-art spectrometer analysis. This advanced technology allows us to conduct a precise, non-destructive test of the material’s chemical composition. The spectrometer provides a detailed elemental breakdown, which we compare against internationally recognized standards and your specific project requirements. This critical test confirms the exact alloy grade and ensures there are no impurities that could compromise the material’s structural integrity, weldability, or corrosion resistance.

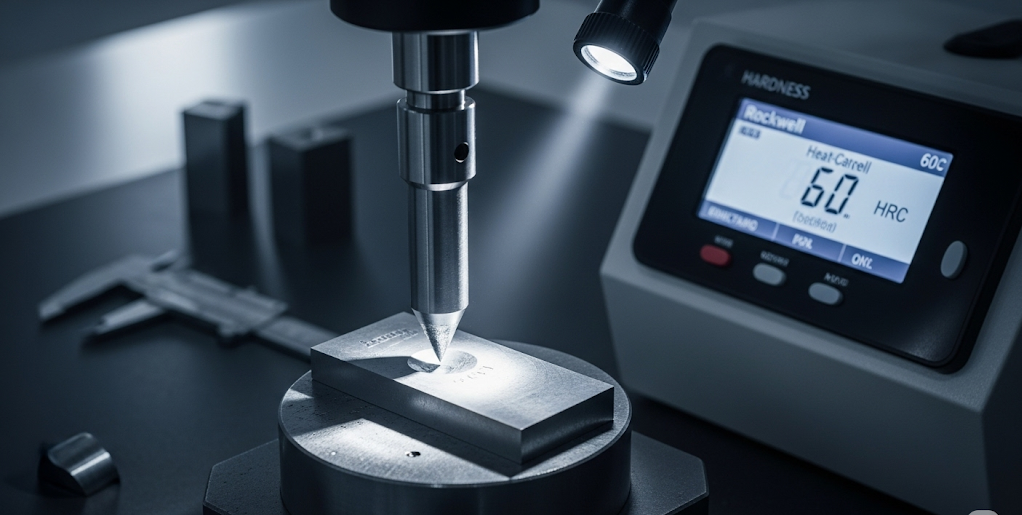
Rigorous Hardness Testing for Mechanical Properties: Beyond chemical composition, the mechanical properties of a material are paramount to its performance. We conduct thorough hardness testing to verify that the material meets the specified strength and durability characteristics. Using calibrated equipment, we measure the material’s resistance to deformation, ensuring it possesses the required temper and resilience to withstand its end-use application stresses. This validation is crucial for components subjected to wear, impact, or heavy loads.
By implementing this trifecta of verification—documentary review, chemical analysis, and physical testing—we build an unbreakable chain of quality. Our stringent IQC process is more than a procedural step; it is a manifestation of our core philosophy. It provides the peace of mind that every component we manufacture is built upon a foundation of verified, high-quality material, ensuring that the final product we deliver to you is nothing short of exceptional. This unwavering commitment to foundational quality is our promise of reliability and performance.
Translating Precision Design into Flawless Execution: Our Process & Program Development
The bridge between a meticulously designed component and a perfectly machined final product is built with code, strategy, and expertise. At the heart of our manufacturing promise lies a sophisticated Process & Program Development stage, where our seasoned engineers transform your complex designs into precise, efficient, and reliable CNC machining instructions. This critical phase is where theoretical precision meets practical application, ensuring that every cut, every contour, and every detail of your component is executed with unparalleled accuracy and efficiency.
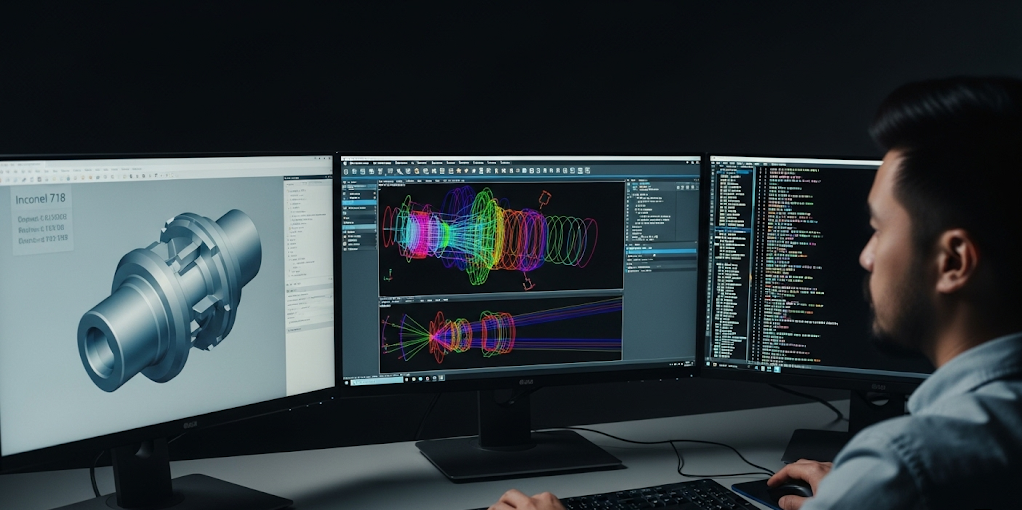
A successful outcome is not accidental; it is engineered. Our process begins with a deep dive into the unique characteristics of your part. Our experienced engineers analyze the complexity of the geometry, the stringency of the tolerance requirements, and the specific properties of the selected material. Based on this comprehensive evaluation, they architect an optimal manufacturing strategy. This involves designing the most effective machining process path, determining the ideal sequence of operations, and selecting the perfect cutting tools for each specific task—balancing the need for aggressive material removal with the finesse required for fine-detail finishing.
The Digital Blueprint for Precision: Programming and Simulation
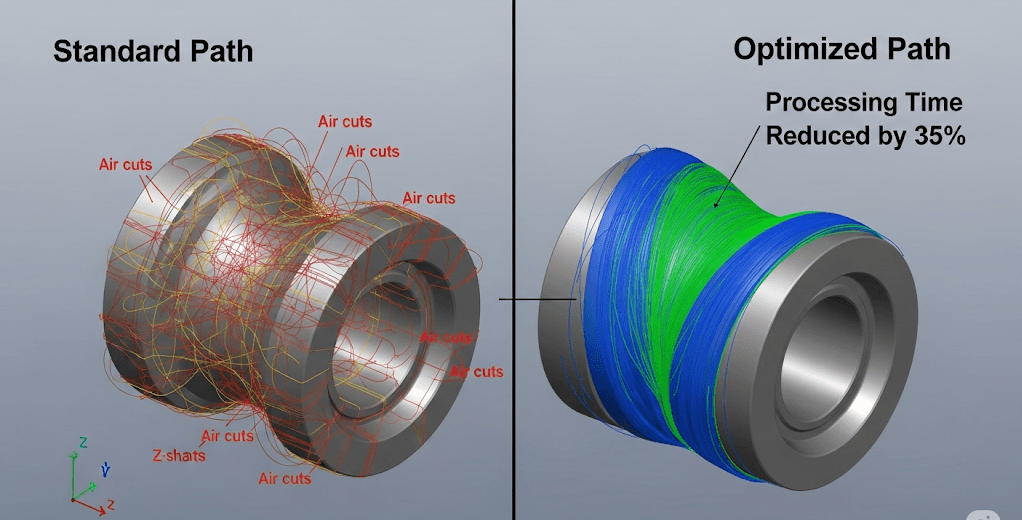
Once the strategic roadmap is defined, our team leverages advanced technology and deep expertise to ensure a flawless and efficient production run:
Expert CAM Programming: The core of this stage is advanced Computer-Aided Manufacturing (CAM) programming. Our specialists use industry-leading software to translate your 3D models into intricate CNC programs. This is more than a simple conversion; it is a craft. They meticulously choreograph the machine’s every move, dictating the precise speeds, feeds, and movements required to achieve the design’s intent with absolute fidelity.
Intelligent Toolpath Optimization: Efficiency is key to delivering value. A core focus of our CAM programming is toolpath optimization. We go beyond default settings to create the smartest, most efficient path for the cutting tool to travel. This involves minimizing air-cutting time, ensuring constant tool engagement, and employing advanced techniques like trochoidal milling to reduce tool wear and machining time. The result is a faster, more cost-effective process without ever compromising the quality or surface finish of your component.
Comprehensive Machining Simulation: Before any material is cut, every CNC program undergoes a rigorous validation process through advanced machining simulation. We create a complete digital twin of the machining environment, including the machine, the workpiece, fixtures, and tooling. The entire program is run in this virtual space, allowing us to forecast the entire process from start to finish. This critical step allows us to detect and prevent any potential issues, such as tool collisions, gouging of the part, or inefficient movements, before they can cause costly mistakes on the shop floor. It is our ultimate risk-mitigation tool, guaranteeing that the program is perfect before it ever touches your material.
This meticulous approach to Process & Program Development ensures that we are not just making parts; we are engineering solutions. By combining the strategic insight of our experienced engineers with the predictive power of CNC machining simulation, we eliminate guesswork and proactively solve challenges. This digital-first methodology guarantees optimal efficiency, unwavering precision, and the complete integrity of your final components, ensuring the transition from digital blueprint to physical reality is seamless, predictable, and perfect.
Setting the Standard for Perfection: The First Article Inspection (FAI) Guarantee
In the world of precision manufacturing, consistency is paramount. Before committing to a full production run, it is essential to have absolute certainty that every specification of your design has been perfectly translated into a physical component. This is the purpose of our rigorous First Article Inspection (FAI) process—a critical quality gateway that validates the integrity of our entire setup, from programming to tooling. It is our unwavering commitment that before we produce in quantity, we first prove our quality, ensuring the very first part is a perfect reflection of your design.
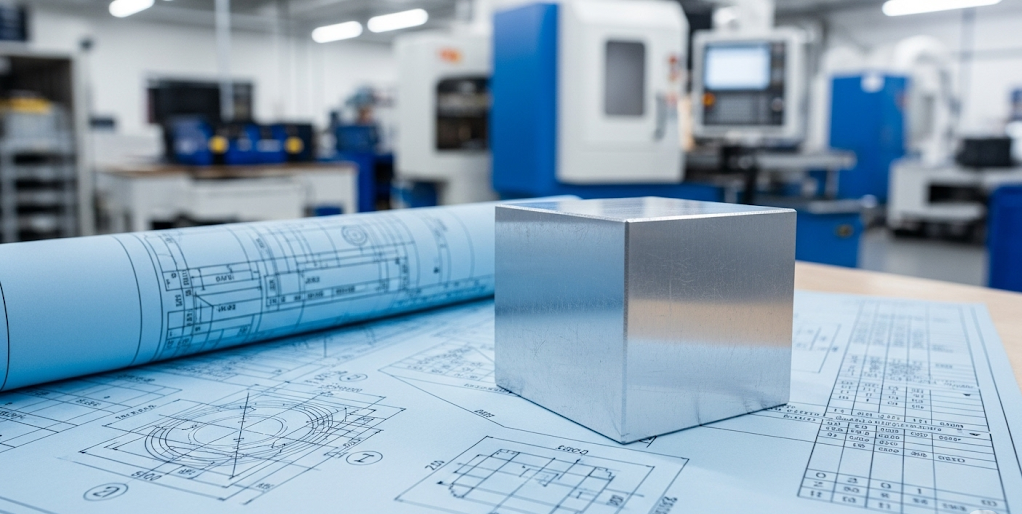
The FAI is far more than a simple spot-check; it is a comprehensive and exhaustive examination of the first component produced from a new setup or a revised design. We treat this “first article” as the master standard against which all subsequent parts in the batch will be measured. Our philosophy is simple: only after the first piece is verified to be 100% compliant with every detail of your drawing do we authorize the start of mass production for your CNC machining order. This eliminates the risk of entire batches being produced with hidden deviations, saving invaluable time and resources while guaranteeing product conformity.
A Meticulous Protocol for Unquestionable Quality
Our FAI process is defined by its depth and precision, leveraging state-of-the-art metrology equipment and a systematic approach to validation:
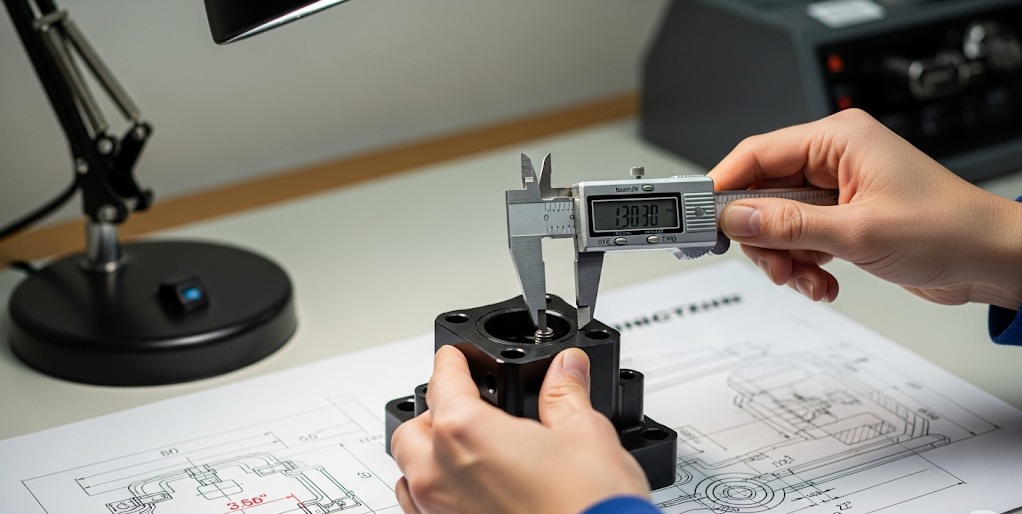
Comprehensive Full-Dimensional Inspection: We conduct a meticulous full-dimensional inspection, meaning every single dimension, tolerance, and feature noted on your engineering drawing is measured and verified. There are no assumptions made and no details overlooked. From overall length and width to the precise location of every hole and the radius of every fillet, we create a complete dimensional map of the first article to ensure it is a true one-to-one match to the blueprint.

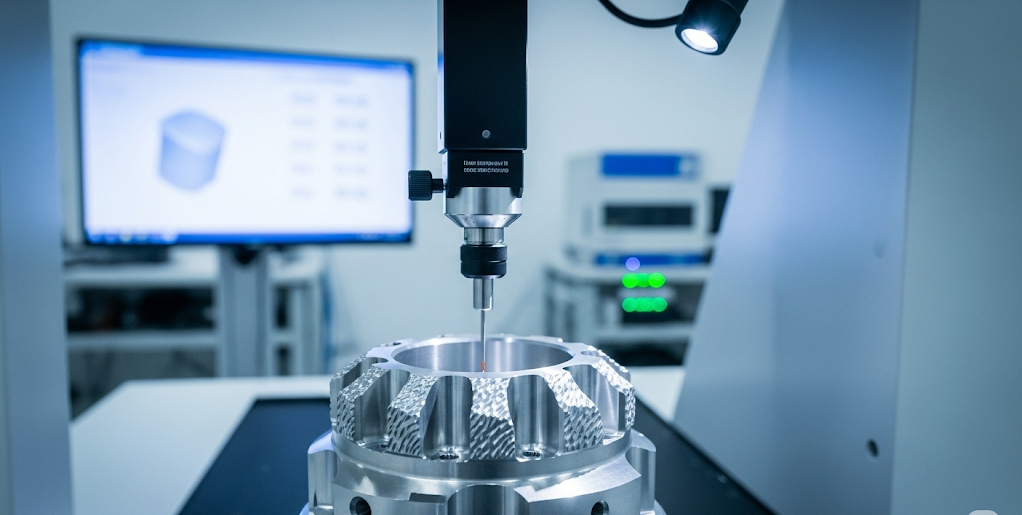
Advanced Metrology and CMM Reports: To achieve the highest degree of accuracy, our quality assurance lab is equipped with advanced inspection technology. The cornerstone of our FAI is the Coordinate Measuring Machine (CMM), a device capable of measuring complex geometries with sub-micron precision. We utilize the CMM to verify complex profiles, positional tolerances, and other critical features that are impossible to accurately assess with hand tools. The output is a detailed CMM report, a formal document that provides empirical data for every measured feature, offering you transparent and indisputable proof of dimensional compliance. This report is your assurance that the part meets the most stringent requirements.
Rigorous Critical Dimension Control: While all dimensions are important, we place special emphasis on critical dimension control. We work with you to identify the key features that are most vital to your product’s fit, form, and function. These critical-to-quality (CTQ) dimensions are subjected to the highest level of scrutiny during the FAI. This focused approach ensures that the most crucial aspects of your design are held to the tightest possible standards, guaranteeing the performance and interchangeability of your components in their final assembly.

The First Article Inspection is the ultimate safeguard of your project’s integrity. It is the disciplined pause before production that provides complete confidence in the process. By investing in this intensive, upfront verification, we ensure there are no surprises, no deviations, and no compromises. It is the final, crucial step that validates our process and provides you with the documented assurance that the high-volume production run will deliver exactly what you designed—perfectly replicated, every single time.
Ensuring Consistency at Every Stage: Proactive In-Process Quality Control (IPQC)
In precision manufacturing, achieving initial quality is only half the battle; maintaining that standard flawlessly across an entire production run is what truly defines excellence. A perfect First Article Inspection sets the benchmark, but it is our rigorous In-Process Quality Control (IPQC) that guarantees every subsequent component meets that same exacting standard. We understand that even the most advanced CNC machining processes can be subject to subtle variations. That is why our quality assurance strategy is dynamic and continuous, embedding checkpoints and analysis directly into the manufacturing workflow to ensure unwavering consistency from the first part to the last.
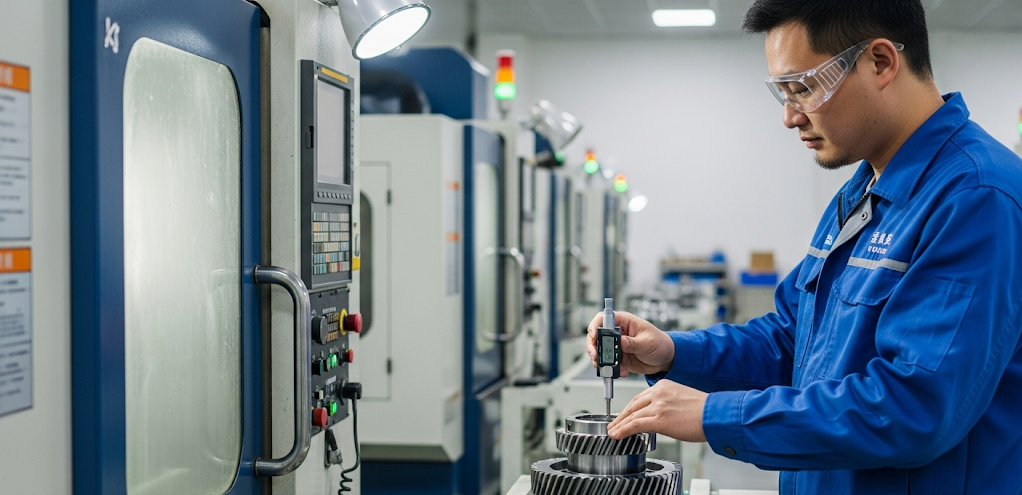
Our IPQC philosophy is built on proactive monitoring and immediate correction. We don’t wait until the end of a production run to discover potential issues. Instead, our skilled machine operators and dedicated quality inspectors work in tandem to continuously verify product integrity throughout the entire CNC machining process. This vigilant oversight ensures that any deviation, no matter how minor, is identified and addressed in real-time, preventing scrap, minimizing waste, and guaranteeing the uniformity of the entire batch.
A System for Unwavering Process Stability
Our approach to in-process quality is systematic and data-driven, creating a robust framework for consistency and reliability:
Systematic Patrol Inspections: Throughout the production cycle, our quality personnel conduct regular patrol inspections directly at the machining center. Following a strictly defined inspection frequency—for example, every hour or every 20 pieces—they perform sample checks on parts as they come off the machine. This routine involves measuring key dimensions and performing visual inspections for surface finish and cosmetic integrity. This consistent presence on the production floor provides an immediate feedback loop, ensuring that the process remains perfectly aligned with the approved specifications.

Data-Driven Statistical Process Control (SPC): We elevate our inspection process beyond simple pass/fail checks by implementing Statistical Process Control (SPC). As our inspectors gather data from the patrol inspections, they input these measurements into our SPC system. This powerful methodology allows us to statistically monitor the performance of the machining process in real-time. By charting data points and tracking trends, SPC enables us to see the “voice of the process.” It helps us distinguish between normal, acceptable variations and trends that indicate a potential drift away from the nominal specification, allowing us to intervene preemptively before a non-conforming part is ever produced.
Maintaining Unwavering Process Stability: The ultimate goal of our IPQC system is to achieve and maintain exceptional process stability. The data and insights gained from patrol inspections and SPC analysis are not just for monitoring; they are for action. If any trend suggests a potential deviation—perhaps due to tool wear, temperature fluctuations, or other variables—our engineers and operators can make precise, calculated adjustments to the process. This proactive, data-driven approach ensures the process remains centered, capable, and stable, delivering a consistent stream of high-quality components that are virtually identical.
Our commitment to In-Process Quality Control is a commitment to your peace of mind. It transforms manufacturing from a linear process into an intelligent, self-correcting system. By embedding quality checks and statistical analysis into the heart of our operations, we ensure that the high standards established at the outset are maintained with relentless consistency, guaranteeing that every part you receive is a perfect testament to our promise of precision.
The Foundation of Precision: Meticulous Maintenance and Calibration
In the world of high-precision CNC machining, the quality of the final product is a direct reflection of the excellence of the tools used to create it. This principle is captured in the age-old saying, “A craftsman must first sharpen his tools to do his work well.”
We live by this philosophy. Our commitment to delivering flawless components is built upon an unwavering dedication to the health and accuracy of our most critical assets: our CNC machines and cutting tools.
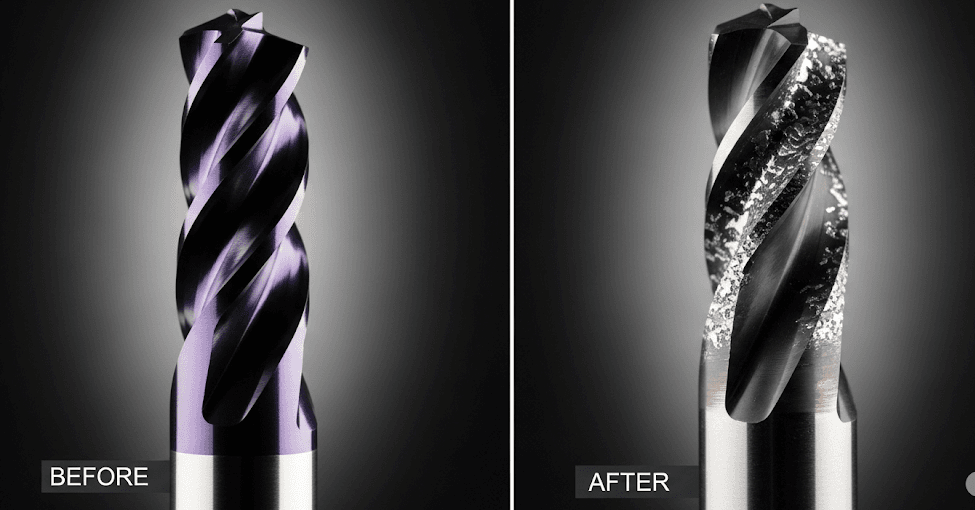
This focus on operational excellence ensures that our equipment is always in peak condition. It stands ready to transform your designs into reality with unmatched precision and consistency.
A reactive approach to maintenance is a recipe for inconsistency and unexpected delays. That is why we operate on a strict and comprehensive schedule of care for all our equipment and tooling.
By proactively addressing the needs of our machinery, we eliminate variables that could compromise quality. This ensures that every project benefits from a stable, reliable, and highly accurate manufacturing environment.
This disciplined approach is fundamental to our promise of quality, reliability, and on-time delivery. Our maintenance strategy is twofold, addressing both machine health and tool integrity with equal rigor.
Proactive Equipment Preventive Maintenance
We have implemented a robust equipment preventive maintenance program that goes far beyond simply fixing problems as they arise. Our technical teams follow a detailed schedule of inspections and servicing for every CNC machine.
This includes checking fluid levels, lubricating moving parts, and inspecting all critical systems. This proactive upkeep minimizes the risk of unexpected downtime and ensures our machines operate with peak power and stability.
Rigorous Accuracy Calibration
The heart of a CNC machine’s capability is its precision. To counteract even minute shifts over time, we perform regular accuracy calibration on our entire fleet of machines.
Using advanced laser interferometers and other metrology instruments, we measure and verify the geometric accuracy of each machine. Any deviation is meticulously corrected and recalibrated to the most exacting standards.
This guarantees that when we command a machine to move to a precise coordinate, it does so with absolute, verifiable accuracy. The tight tolerances of your components are held consistently every time.
Systematic Tool Management
The cutting tool is where the machine meets the material, making its condition paramount. We employ a systematic tool management program to oversee the entire lifecycle of our cutting tools.
This involves rigorous inspection for wear and damage, and strict adherence to established tool life parameters. We ensure that a worn or compromised tool never jeopardizes the integrity of your part.
By replacing tools proactively based on data-driven schedules, we maintain optimal cutting performance. This results in superior surface finishes and consistent dimensional accuracy throughout a production run.
Our dedication to maintenance is your assurance of quality. It is this foundational commitment that allows us to confidently handle the most demanding CNC machining projects and deliver exceptional results.
Mastering Excellence Beyond Machining: Our Special Process Control
Many high-performance components require more than just expert CNC machining to achieve their full potential. Processes like heat treatment and advanced surface finishing are often critical to a part’s final function, durability, and appearance.
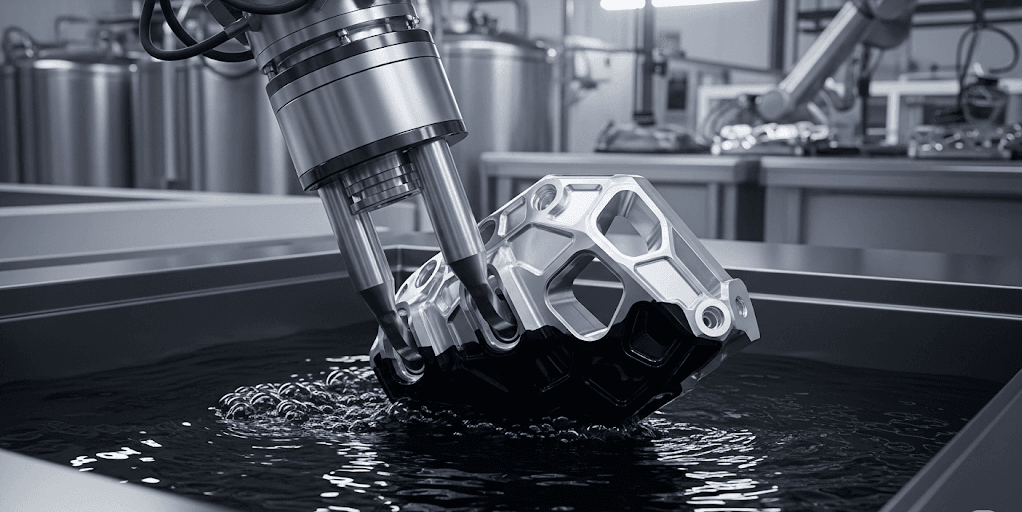
We recognize that these special processes demand the same level of rigorous control and quality assurance as our own in-house manufacturing. Our commitment to excellence extends seamlessly beyond our factory walls.
Rigorous Supply Chain Management
To deliver a truly finished product, we have developed a robust system for Supply Chain Management. This system is dedicated to overseeing all outsourced special processes, from heat treatment to plating and painting.
We partner exclusively with a network of stringently vetted and qualified suppliers. Each partner is selected based on their proven expertise, state-of-the-art facilities, and a shared commitment to uncompromising quality.
Our relationship with these suppliers is one of active management and continuous evaluation. We ensure they consistently meet our demanding standards and your specific technical requirements.
Pre- and Post-Process Verification
Our quality control does not pause when a part leaves our facility for a special process. We conduct thorough inspections both before and after any outsourced work is performed to guarantee integrity.
Before treatment, we verify that the parts are in perfect condition. After they return, we conduct another exhaustive inspection to confirm the process was completed to the exact specification without causing any defects.
This dual-inspection gateway ensures complete accountability and protects the quality of your components. It verifies that both our machining and the special process meet the required standard.
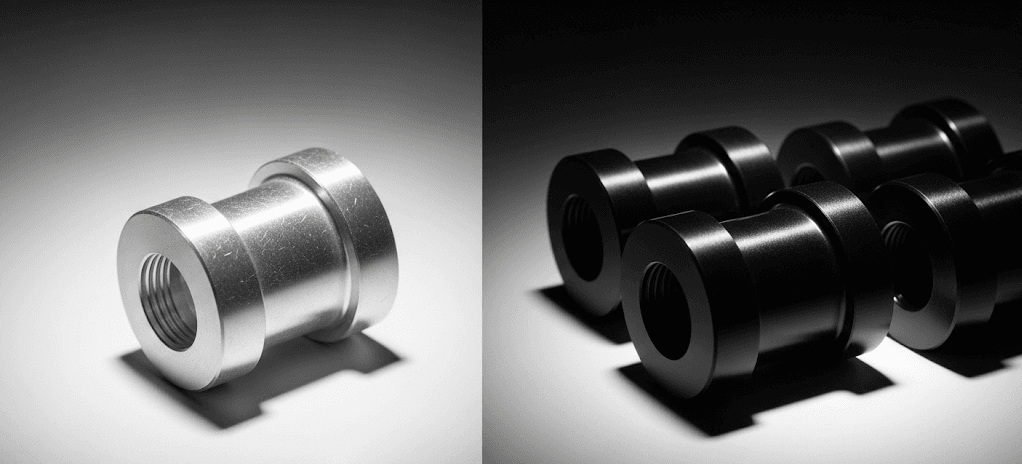
Validating Performance and Finish
Our post-process inspection utilizes specialized equipment to validate critical parameters. We don’t just look at the part; we measure and verify its newly acquired properties with precision instruments.
We meticulously measure surface roughness to ensure the texture meets your exact design requirements. This is crucial for parts that require specific frictional properties or a flawless cosmetic appearance.
For coated or plated components, we perform precise coating thickness testing. Using advanced gauges, we verify that treatments like anodizing or plating have been applied to the specified thickness for optimal corrosion resistance and durability.
This meticulous control over special processes is an integral part of our service. It is our guarantee that every aspect of your component, whether machined in-house or treated by a trusted partner, adheres to the highest standard of quality.
Our commitment to precision culminates in the most critical stage before shipment: Final Quality Control (FQC). This is the last gate through which every component must pass, serving as the ultimate verification that our rigorous process has yielded a product that perfectly matches your design.
This final inspection is not a mere formality; it is a systematic and meticulous validation of our work. It is your ultimate assurance that the CNC machining components you receive are unconditionally ready for assembly, performance, and success.
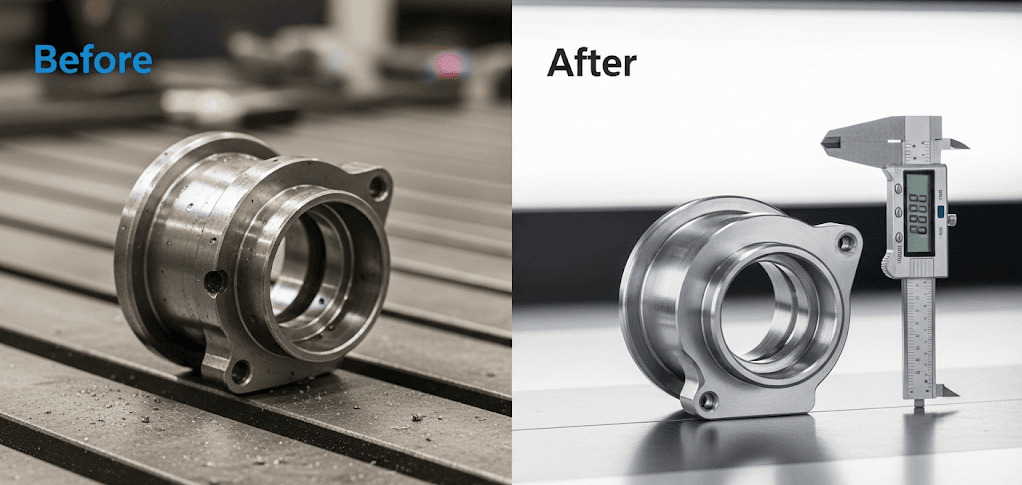
A Comprehensive Quality Gatekeeper
After all manufacturing and special processes are complete, every part is transferred to our dedicated quality assurance department. Here, our independent inspection team acts as the final arbiter of quality.
They work directly from your engineering drawings and specifications, performing a comprehensive review. This ensures that every feature, dimension, and requirement has been met without compromise.
This separation of inspection from production guarantees an unbiased and objective assessment. It provides a robust final check on every aspect of the component before it is approved for release.
Tailored Inspection Methodologies
We understand that different projects have different assurance requirements. Therefore, we deploy tailored inspection strategies to provide the most appropriate and effective level of scrutiny for your order.
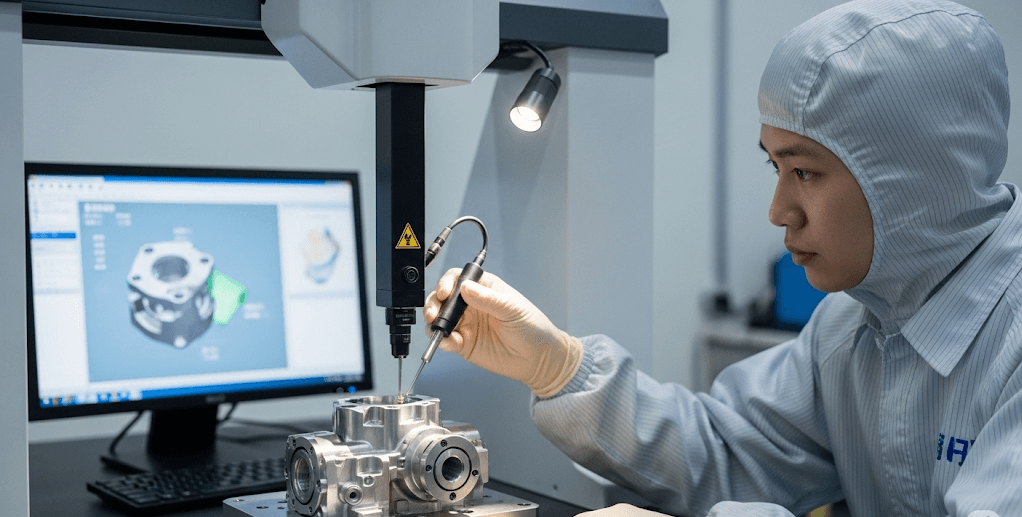
For prototypes, critical components, or small-batch orders, we conduct a 100% full inspection. Every single part is individually measured and verified against all specifications on the drawing.
This guarantees that every piece you receive is dimensionally perfect and meets the most stringent quality demands, providing complete confidence for critical applications.
Consistency for High-Volume Production
For larger production runs, ensuring batch-wide consistency is paramount. We employ the internationally recognized AQL sampling (Acceptable Quality Level) standard for these orders.
This proven statistical method allows us to inspect a carefully selected sample from the batch. It provides a high degree of confidence that the entire lot meets the required quality threshold.
Our adherence to AQL standards ensures a consistent and predictable level of quality across thousands of parts. This provides the reliability you need for high-volume assembly and production lines.
Adherence to Strict Appearance Standards
Beyond dimensional accuracy, we know that the fit and finish of a component are also critical. Our inspectors are trained to adhere to strict appearance standards for all products.
Every part is carefully examined for cosmetic integrity, checking for burrs, scratches, or blemishes. We ensure the surface finish and overall aesthetic meet the high expectations of your brand.
This final, meticulous review guarantees that the components you receive not only perform perfectly but also look the part. It is the final touch that signifies a truly premium product.
Delivering Perfection: Our Commitment to Final Preparation and Packaging
Our dedication to quality extends beyond the final inspection of your CNC machining order. We believe the journey is not complete until your precision components are delivered to your door in pristine condition, ready for immediate integration into your assembly line.
This final stage of cleaning, packaging, and labeling is performed with the same meticulous care as the manufacturing process itself. It is our final handshake, ensuring the quality we crafted is the quality you receive.
Professional Cleaning and Preparation
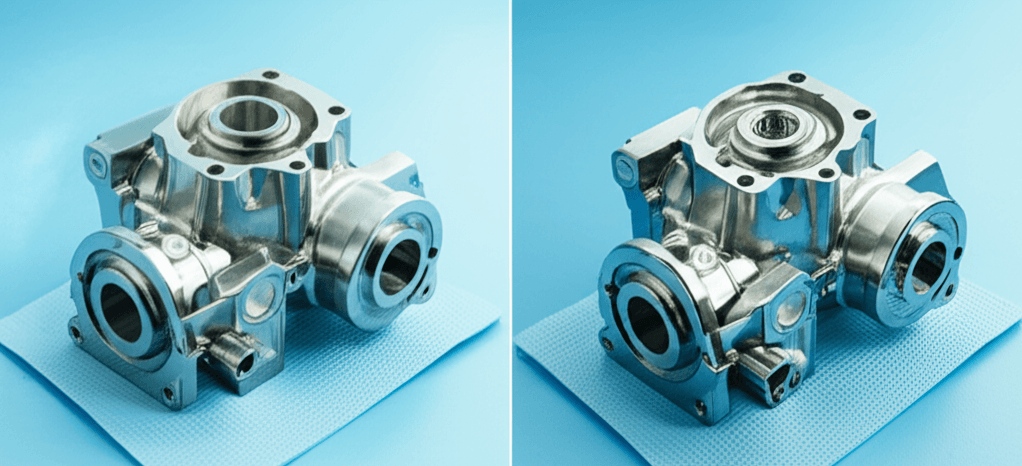
Every component that passes our rigorous Final Quality Control is first sent for professional cleaning. This ensures that any residual cutting fluids, particulates, or handling marks are completely removed.
Depending on the material and complexity, this may include advanced ultrasonic cleaning baths. This process guarantees your parts arrive in a spotless, pure state, ready for sensitive applications.
Following cleaning, we apply appropriate rust-preventative treatments as needed. This crucial step protects the integrity and finish of the material during transit and storage.
A Focus on Damage Protection
We understand that even the most precise component is useless if it arrives damaged. That is why we have engineered a packaging process centered entirely on robust damage protection.
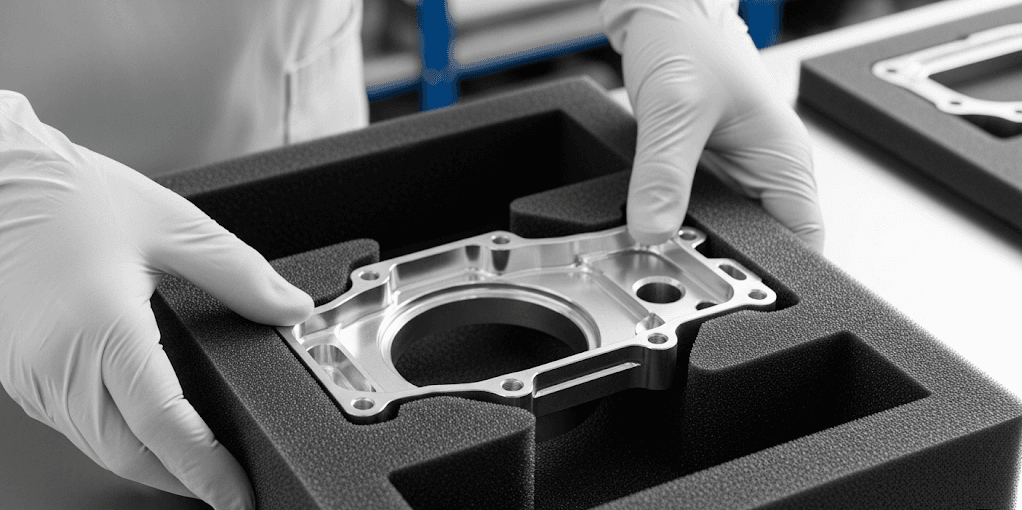
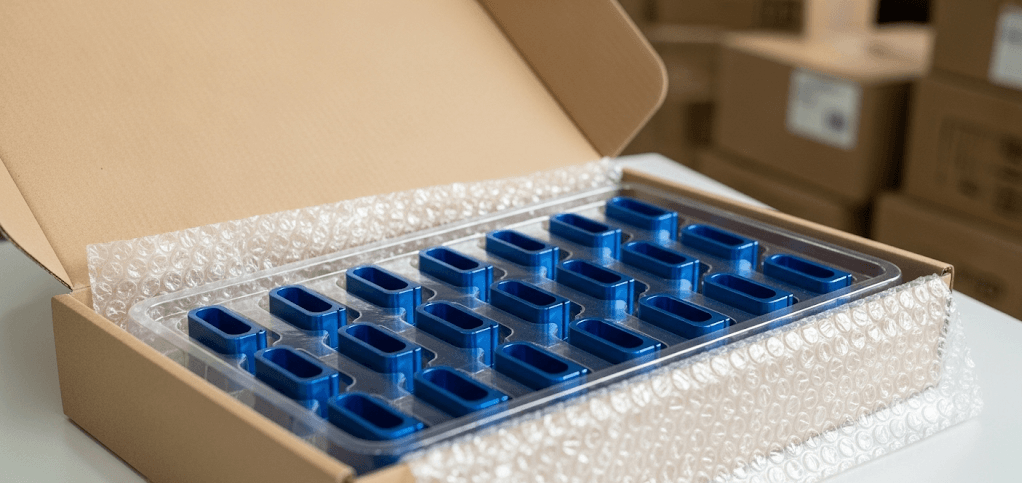
We utilize custom-designed packaging solutions tailored to the specific geometry and vulnerability of your parts. This includes options like custom-cut foam inserts, molded trays, and reinforced boxing.
Each part is individually wrapped or segregated using soft, non-abrasive materials. This prevents scratching, denting, and any damage from shock or vibration during shipment.
Professional Packaging for Secure Transit
Our approach to professional packaging ensures your components are secure from our door to yours. We think of the packaging as the final layer of quality assurance for your project.
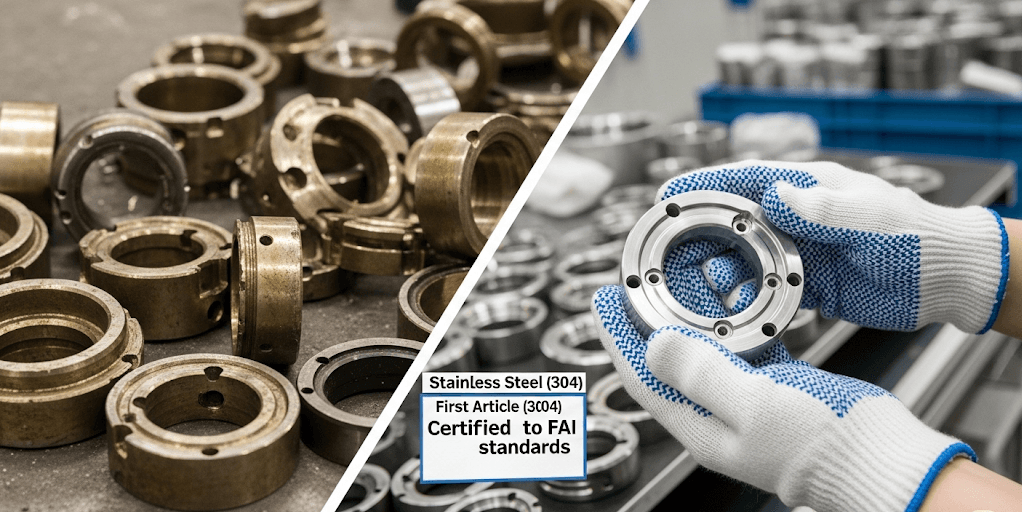
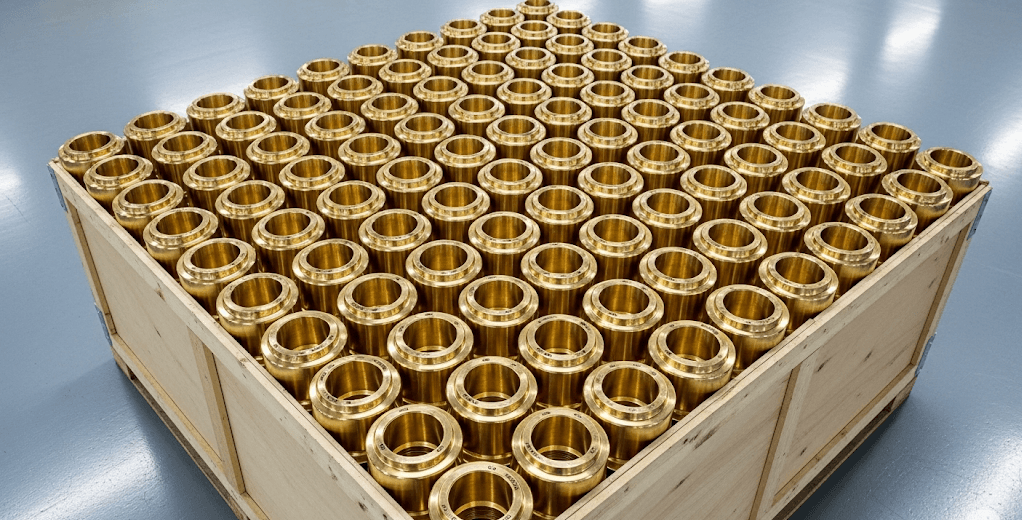
As depicted in our quality standards, parts are often neatly arranged in custom trays or boxes. They are then sealed with protective films to prevent movement and contamination.
This organized and secure method not only offers maximum protection but also facilitates easier handling and inventory management upon arrival at your facility.
Ensuring Complete Traceability
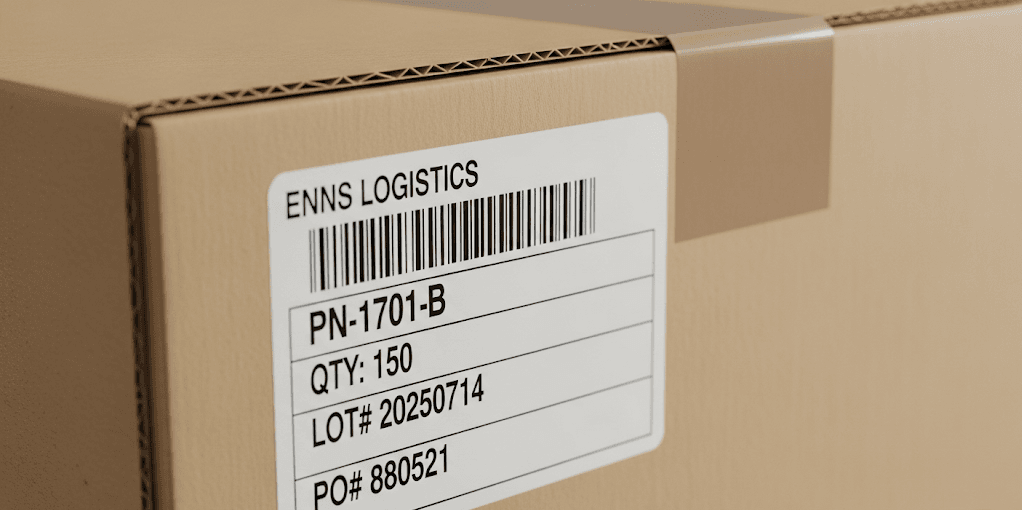
Clear and accurate identification is critical for modern logistics and quality control. Every package we ship is clearly labeled with all essential information for seamless receiving.
This labeling provides complete traceability for every component. The label includes the part number, quantity, our production lot number, and your purchase order number for easy reference.
This clear, consistent information stream simplifies your receiving process and ensures a permanent, traceable link back to our production and inspection data, providing total accountability.

